
7 Mistakes You’re Making with Scrim Vinyl Banners (and How to Fix Them Before Your Next Big Event)
- Janet Emma
- Mar 31
- 5 min read

A scrim banner is a core tool for physical marketing. It consists of a polyester mesh: the "scrim": sandwiched between two layers of vinyl. This construction provides the tensile strength required for outdoor use. However, most users fail to utilize this material correctly. Avoid these seven mistakes to ensure your investment at Hard Re-Set Inc. lasts through your entire event cycle.
1. Choosing the Wrong Weight for the Environment
The most common error is selecting a standard weight for a high-stress environment. Scrim vinyl is categorized by weight per square yard.
13 oz. Scrim Vinyl: This is the industry standard. It is suitable for indoor displays and short-term outdoor use. Using it in high-wind areas will result in tearing at the grommet points.
18 oz. Scrim Vinyl: This is heavy-duty material. It is required for long-term outdoor displays, street banners, and double-sided printing. It offers superior puncture resistance.
9 oz. Mesh Vinyl: This is not technically solid scrim vinyl, but it serves a specific purpose. It features small holes to allow wind to pass through. Using solid vinyl on a fence during a storm creates a "sail effect" that can destroy the banner and the fence.
The Fix: Assess your wind exposure. If the banner is going on a wall, use 13 oz. If it is hanging between poles or in a high-wind zone, upgrade to 18 oz. or switch to mesh.
Visit https://www.hardre-setinc.com/browse-products-place-an-order to select the correct material weight for your project.
2. Mounting at the Wrong Height or Location
Visibility is a math problem, not an aesthetic choice. Banners placed too high become invisible to pedestrians. Banners placed too low are blocked by cars, trash cans, or crowds.
Obstruction: Placing a scrim banner behind a tree or utility pole renders the message useless.
Distance vs. Letter Height: For every 10 feet of viewing distance, your text needs to be at least 1 inch tall. A banner with 3-inch text mounted 50 feet away is unreadable.
The Fix: Mount banners at eye level for foot traffic (approx. 5 to 6 feet from the ground). For roadside banners, increase font size and ensure a clear line of sight from at least 100 feet away.
Check our previous projects for placement inspiration: https://www.hardre-setinc.com/view-our-work.
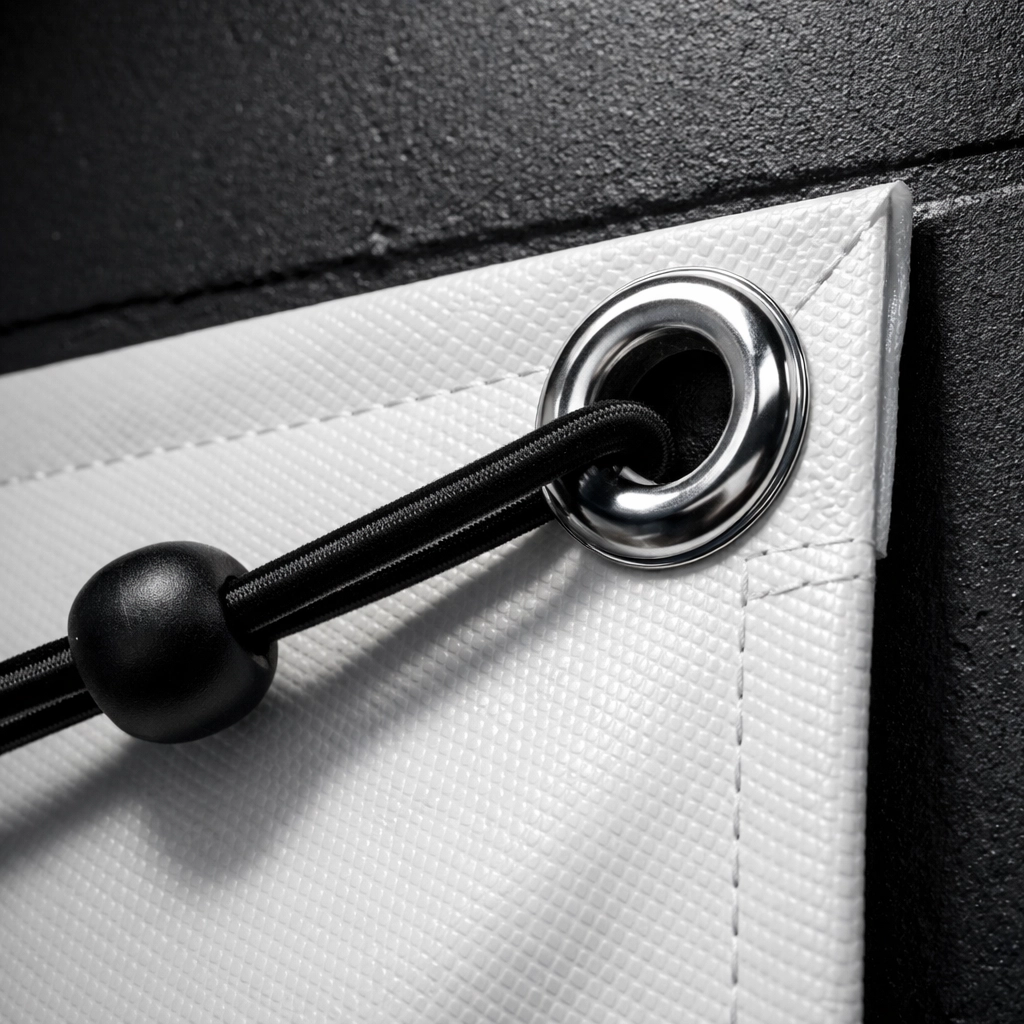
3. Improper Installation and Grommet Neglect
Grommets are the metal rings punched into the edges of a scrim vinyl banner. They are the only points intended to bear the weight of the sign.
The Mistake: Using only the four corner grommets on a 10-foot banner. This causes the middle to sag and puts extreme stress on the corners, leading to inevitable ripping.
Hardware Errors: Using thumbtacks, nails, or staples directly through the vinyl. This destroys the polyester scrim and leads to rapid failure.
The Fix: Use every grommet provided. Space your attachment points every 2 to 3 feet. Use heavy-duty zip ties for fences and bungee cords for structures that might move slightly in the wind. Bungee cords provide "give," which prevents the vinyl from snapping under sudden gusts.
To order banners with reinforced hems and grommets, go to https://www.hardre-setinc.com/shop.
4. Incorrect Tensioning (Too Tight or Too Loose)
A banner that is too loose will flap. Flapping leads to "wind whip," which cracks the vinyl coating and eventually shreds the internal scrim. A banner that is too tight will warp.
The "Smile" Effect: Over-tightening the bottom corners causes the banner to curve upward, distorting your text and logo.
Vibration Damage: Loose banners vibrate against the mounting surface, scratching the ink off the face of the design.
The Fix: The banner should be taut and flat, resembling a drum head, but it should not be stretched to the point of deforming the grommet holes. If the grommet hole is turning from a circle into an oval, the tension is too high.
Visit https://www.hardre-setinc.com/contact-7 if you need a professional consultation on installation hardware.
5. Using Low-Resolution Images and Assets
A scrim banner is a large-format print. An image that looks acceptable on a 6-inch phone screen will look like a collection of colored blocks when enlarged to 6 feet.
DPI Requirements: Most web images are 72 DPI (dots per inch). Large format printing requires 150 to 300 DPI at the final print size.
Scaling Errors: Taking a small logo and "stretching" it in a Word document does not increase its resolution; it only increases the size of the pixels.
The Fix: Use vector files (.AI, .EPS, or .PDF) whenever possible. If using raster images (photos), ensure they are high-resolution. If you can see pixels when viewing the image at 100% on your monitor, those pixels will be massive on your scrim banner.
Start your high-resolution order here: https://www.hardre-setinc.com/browse-products-place-an-order.
6. Poor Design and Color Contrast Choices
Design for a scrim banner is different from design for a business card. You have roughly three seconds to grab a viewer's attention.
Clutter: Including too many phone numbers, social media handles, and long paragraphs of text.
Low Contrast: Light yellow text on a white background is impossible to read from a distance. Dark blue text on a black background is equally useless.
Ignoring Bleed and Safe Zones: Placing critical text too close to the edge. When the banner is hemmed and grommeted, that text may be cut off or covered by a metal ring.
The Fix: Use high-contrast color combinations (Black on Yellow, White on Dark Blue, Black on White). Keep the message to a headline, a sub-headline, and one clear call to action or URL. Keep all text at least 2 inches away from the edges.
See examples of high-impact designs: https://www.hardre-setinc.com/view-our-work.

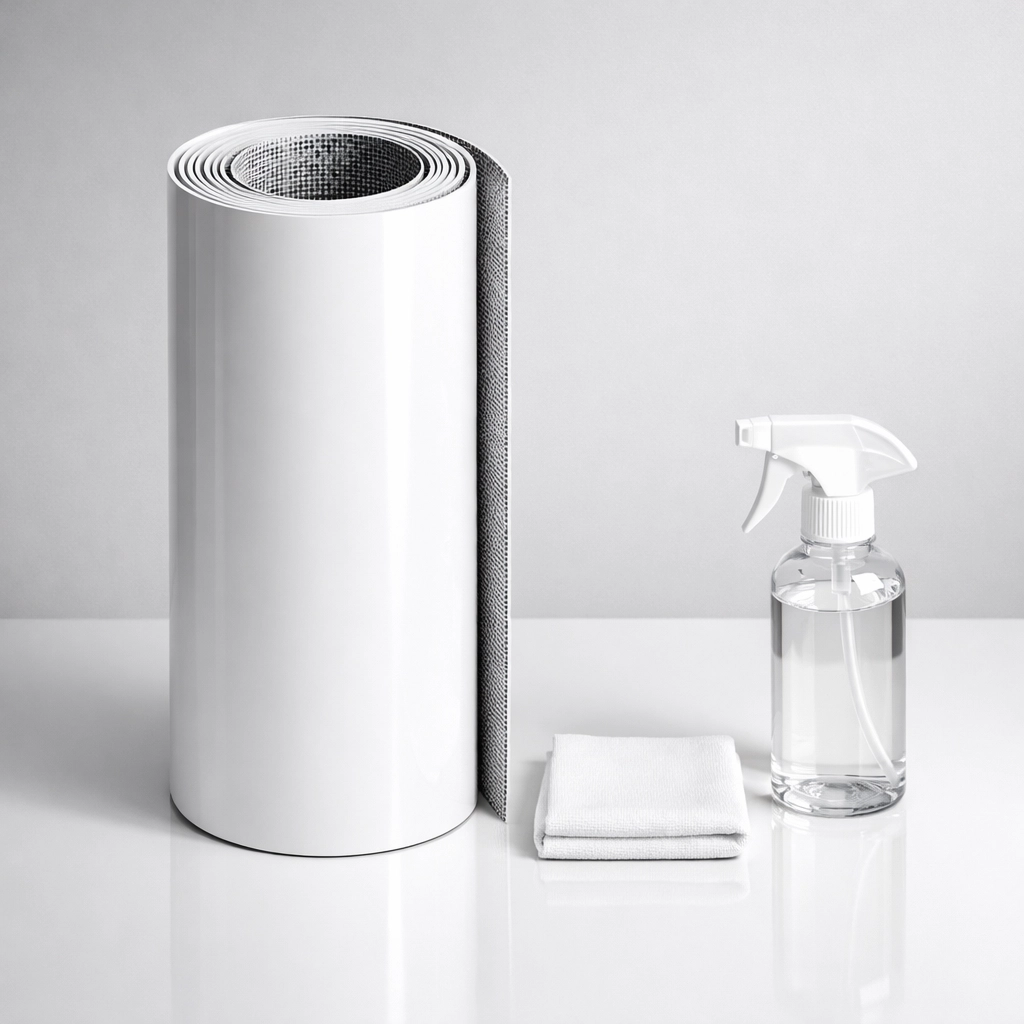
7. Neglecting Post-Event Care and Storage
How you treat your scrim vinyl after the event determines if you can use it again. Most banners are ruined in storage, not during the event.
Folding: Never fold a vinyl banner. Folding creates permanent creases that crack the ink and the vinyl. Once a crease is set, it is almost impossible to remove.
Dirty Storage: Storing a wet or dirty banner leads to mold and mildew growth between the vinyl layers.
Abrasive Cleaning: Using bleach or scrub brushes will strip the UV coating and the ink from the scrim.
The Fix: Clean the banner with a soft cloth, mild soap, and lukewarm water. Allow it to dry completely. Roll the banner with the printed side facing out. This prevents the ink from sticking to itself and helps the banner lay flat more quickly the next time it is unrolled. Store it in a cool, dry place inside a tube or original packaging.
Visit https://www.hardre-setinc.com/faq for more maintenance tips.
Summary Checklist for Scrim Banner Success
To maximize the lifespan of your custom printing, follow these standardized steps:
Select Weight: 13 oz for indoors/walls; 18 oz for outdoors/poles; 9 oz mesh for fences.
Verify Resolution: Use 300 DPI assets or vector files.
Check Design: High contrast, minimal text, 2-inch safe zones.
Install Correctly: Use all grommets. Use bungees for outdoor tension.
Monitor Tension: Taut but not distorted.
Store Properly: Clean, dry, and rolled (print side out).
Hard Re-Set Inc. provides professional-grade scrim vinyl printing for all business and personal needs. Do not settle for low-quality materials that fail during your event.
To start your next banner project, visit our shop: https://www.hardre-setinc.com/shop.
For bulk orders or custom specifications, contact our team: https://www.hardre-setinc.com/contact-7.
View our full range of products, including apparel and promotional items: https://www.hardre-setinc.com/all-products-1.
If you have questions about our printing process, visit our blog for more technical guides: https://www.hardre-setinc.com/blog.


Comments