
The Architect’s Blueprint: Building Your Streetwear Brand from the Ground Up
- Janet Emma
- Mar 4
- 5 min read

Blueprint rule: hard reset or stay stuck
You don’t need “motivation.” You need structure.
Streetwear brands fail for boring reasons:
random drops
inconsistent fit
weak files
sloppy fulfillment
no repeatable process
Hard reset = move from chaos to structure. Growth & Development = build systems, then build product.
Use this post like a manual. Copy the steps. Execute. Repeat.
Step 1 , Define the build: audience, lane, rules
Set three constraints. No constraints = no brand.
1) Target buyer (pick one primary)
Students (budget, fast trends)
Workers (durability, repeat basics)
Collectors (limited runs, higher price)
Local scene (events, teams, crews, shops)
2) Lane (pick one primary)
Graphic tees as the core
Hoodie-led brand
All-over print statement pieces
Minimal basics with premium blanks
3) House rules (write them down)
color palette (2–4 colors)
typography (1–2 fonts)
placement rules (left chest, full front, back hit, sleeve hit)
drop rules (monthly, quarterly, or “when ready,” but not random)
If you can’t say who it’s for, what it looks like, and how it drops, you’re not building a brand. You’re making shirts.
Step 2 , Your foundation is the blank + fit
Design is not the only product. Fit is the product.
Choose your “default” blank for each category
Tee (everyday)
Heavy tee (premium)
Hoodie (midweight)
Hoodie (heavyweight)
Lock sizing and measurements
Decide: standard fit vs oversized fit
Decide: body length and sleeve length priorities
Decide: shrink tolerance (wash test it)
Simple rule
If you can’t reorder the same blank consistently, don’t build on it.
Step 3 , Build the first capsule (not a “collection”)
Start with 3–6 SKUs. That’s it.
Recommended first capsule
2–3 tees (core graphics)
1 hoodie (flagship)
1 alt colorway (same design, different base)
1 “quiet” piece (small chest + back hit)
System rule
Every design must work in 2 placements:
This keeps your catalog consistent and cheaper to expand.
Step 4 , Printing method selection (stop guessing)
Pick methods based on goals: color count, detail, feel, and risk.
Core tool: custom t-shirt printing (DTG)
DTG printing services are the workhorse for new streetwear.
high detail
photo and gradient friendly
fast sampling
solid for short runs
Use DTG when:
you’re testing designs
you need sharp detail
you’re doing no minimum order custom shirts to validate demand
Avoid DTG when:
you need extreme wash endurance on cheap blanks
you want ultra-thick ink feel as a feature
Build rule
Sample first. Don’t sell what you haven’t washed and worn.
Stand-out tool: custom sublimation printing
Custom sublimation printing is for the “loud” lane.
all-over coverage
full-color
pattern-based identity
hard to copy cleanly without the right setup
Use sublimation when:
your brand needs a visual signature (patterns, repeats, full-body art)
you’re building all over print hoodies and matching sets
you want color that becomes part of the fabric (not sitting on top)
Reality check:
sublimation requires the right garment and build process
art has to be designed for seams, pockets, hoods, and distortion
cheap files look cheaper when they’re printed bigger
Step 5 , The low-risk entry: no minimums + no setup fees
Most new brands die at the first invoice.
Hard Re-Set Inc. is built for controlled starts:
no minimums
no setup fees
small-batch runs
scale when the market proves it
This is the correct order:
sample
micro-run
restock what sells
kill what doesn’t
Use no minimum order custom shirts as your testing engine. You’re buying data, not buying inventory.
Action
start at 10–25 pieces per design
track sell-through in 14 days
reorder only winners
Site:
Step 6 , File discipline (your “bylaws”)
Most print problems are file problems.
Use this file checklist every time
Format: PNG (transparent) for DTG, or vector when possible
Resolution: 300 DPI at print size
Size: measure in inches, not “looks good on screen”
Color: sRGB unless we specify otherwise for a job
Lines: don’t go hairline-thin (they vanish)
Text: outline it or supply fonts
Placement sizes (streetwear defaults)
Full front: 11–13 in wide
Left chest: 3.25–4 in wide
Back hit: 11–13 in wide
Sleeve: 2.5–3.5 in wide
Hard rule
If your art isn’t built at real size, you’re gambling.
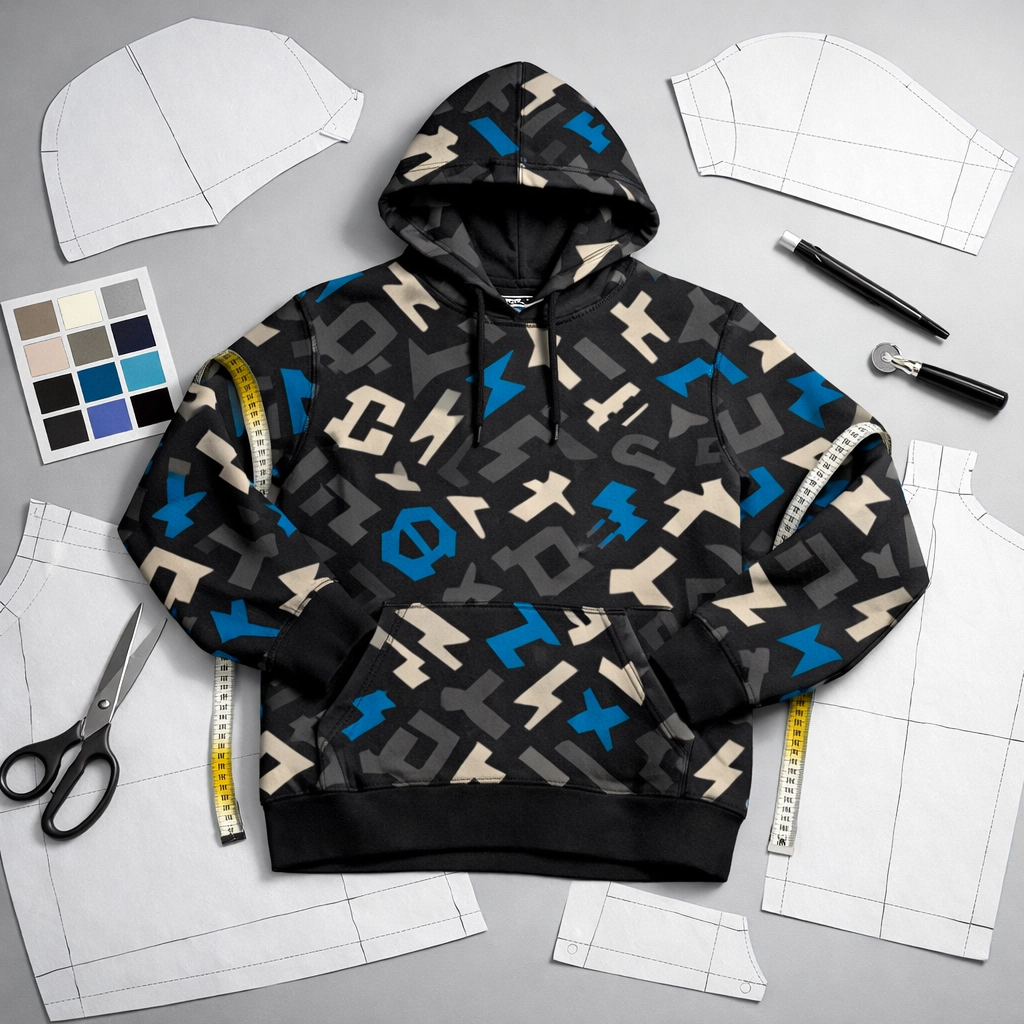
Step 7 , All over print hoodies: how to design them so they hit
All-over print hoodies don’t work as a “bigger t-shirt print.” They require a pattern mindset.
Design rules for all-over print
Build a repeat pattern, not a single centered graphic
Plan seam breaks: side seams, hood seams, pocket edges
Keep critical elements away from seams (faces, small text, logos)
Use “micro details” that still look clean from 6 feet away
Control contrast: if it’s too busy, your brand mark disappears
Recommended brand structure
Pattern = your identity
Small chest mark = your signature
Inside label/neck print = your proof of ownership
If you want to stand out fast, all over print hoodies are one of the cleanest ways. They also require real prep. Don’t wing it.
Step 8 , Your drop system (mechanical, repeatable)
A drop is a process, not a vibe.
Use this 7-day drop loop
Day 1: confirm designs + sizes
Day 2: finalize files + placements
Day 3: order print run
Day 4: content day (product photos, size video, close-ups)
Day 5: inventory count + packing setup
Day 6: launch
Day 7: ship, then restock decision
Rules
same launch day every time
same product page layout every time
same size chart every time
same packaging every time
Consistency builds trust. Trust sells product.
Step 9 , Pricing that keeps you alive
If your pricing can’t cover mistakes, you’re done.
Basic structure
COGS (blank + printing + packaging)
Shipping materials
Processing fees
Your time (yes, count it)
Replacement buffer (misprints happen)
Profit margin
Hard rule
Don’t price like you’re still a fan. Price like you’re operating.
If your hoodie profit is $8 and one package gets lost, you just sold two hoodies for free.
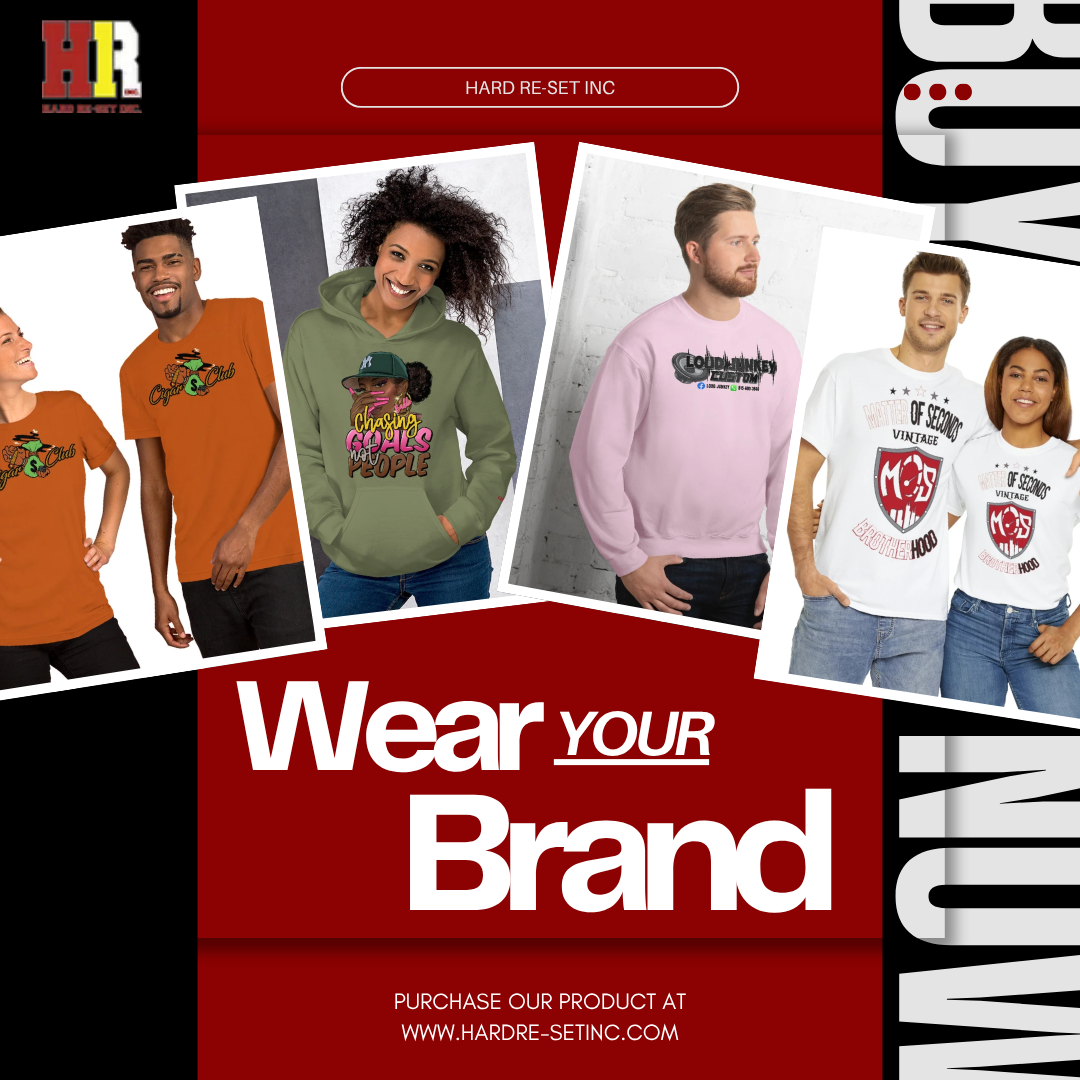
Step 10 : Brand identity that doesn’t fold under pressure
Streetwear is identity plus repetition.
Build the “syndicate” of style (clean version)
1 logo mark (simple)
1 signature placement (consistent)
1 repeating motif (pattern, character, phrase, icon)
1 flagship piece (the hoodie that anchors everything)
Then enforce it:
consistent tags
consistent label placement
consistent product naming
consistent photography style
If every drop looks like a different brand, you’re not building a brand.
Optional reference point (house line):
Step 11 : Product hierarchy (what to print first, what to print later)
Use a simple ladder:
Level 1: validation
custom t-shirt printing (DTG)
1–2 colorways
small runs
Level 2: identity
upgraded blanks
sleeve hits, back hits
consistent neck label strategy
Level 3: differentiation
custom sublimation printing
cut-and-sew looks
all over print hoodies and sets
Level 4: scale
restock winners
retire losers
tighten lead times
build wholesale-ready packs
Don’t jump to Level 3 with Level 1 discipline.
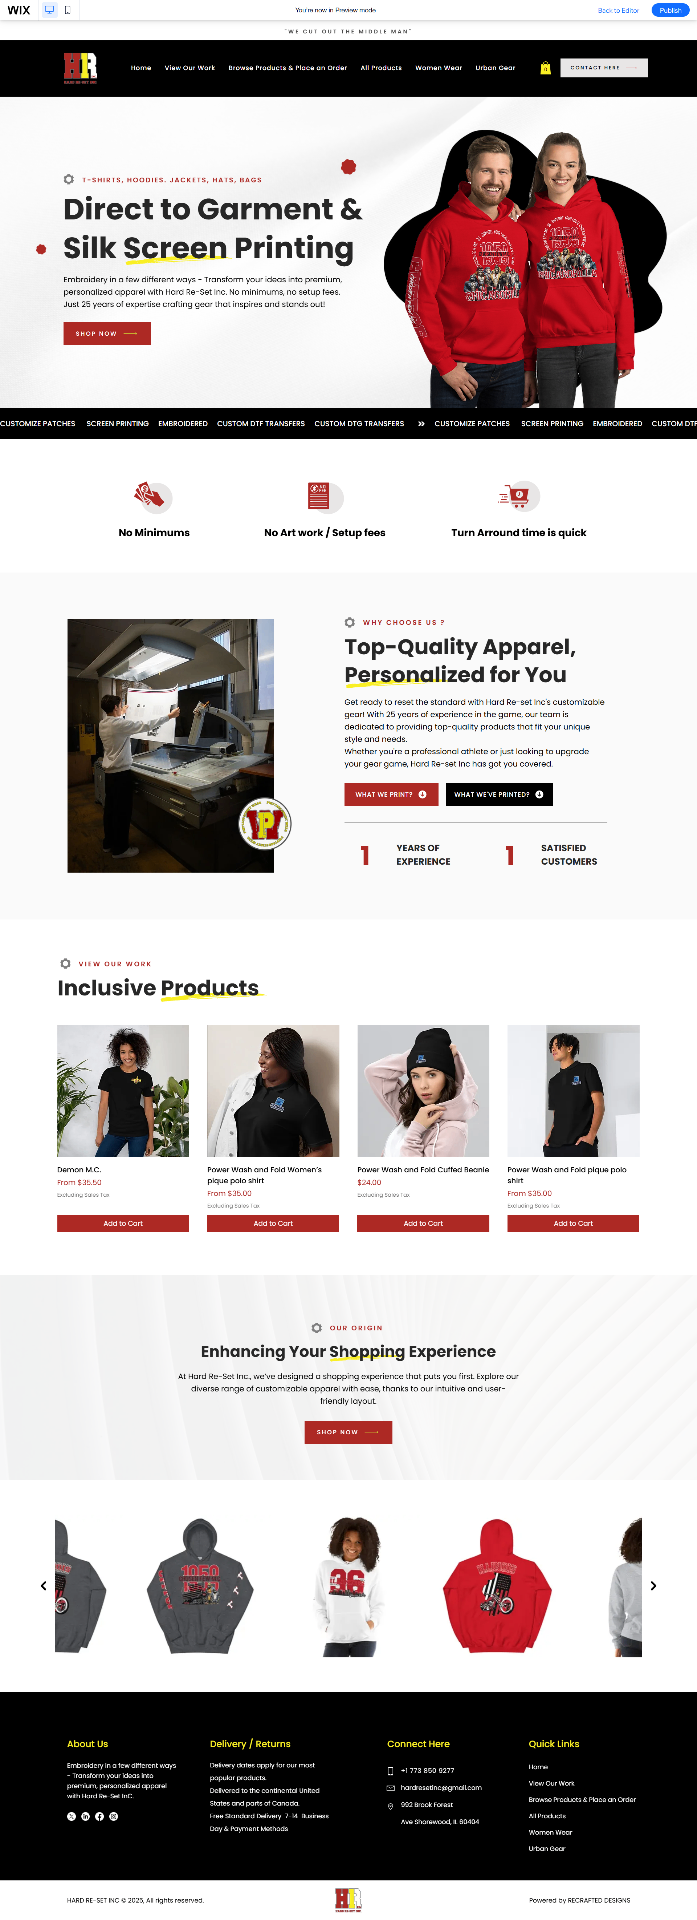
Step 12 : Use Hard Re-Set like a production partner (simple workflow)
If you want custom apparel printing without the usual startup penalties, run it like this:
Workflow
Pick garment + quantities
Send print-ready files + placement notes
Approve mockups/samples (when needed)
Run the batch
Repeat with winners
Buttons
View site: https://www.hardre-setinc.com
View work: https://www.hardre-setinc.com/view-our-work
Quick build checklist (copy/paste)
Use this every time you add a new piece.
buyer defined
lane defined
blank selected and tested
file is 300 DPI at size
placements measured in inches
method chosen (DTG vs sublimation)
small batch approved (no minimums)
product page built with size chart
drop date set
packaging and ship workflow ready
Method recap (simple)
If you’re starting today and need a clean build:
Use DTG printing services for your first runs and fast sampling
Use custom t-shirt printing to validate designs without overbuying
Use no minimum order custom shirts to build using real demand
Use custom sublimation printing when you’re ready to separate from basic merch
Use all over print hoodies when your brand needs a signature look that can’t be ignored


Comments